As an experienced technician with over a decade dedicated to infant feeding products, especially baby bottles, I understand the critical importance of hygiene when it comes to nurturing your little one. Breast Pump Sterilizers might seem like just another baby gadget, but they are a cornerstone of ensuring your baby’s health and your peace of mind. In the demanding journey of parenthood, finding efficient and reliable ways to keep feeding equipment spotless is paramount.
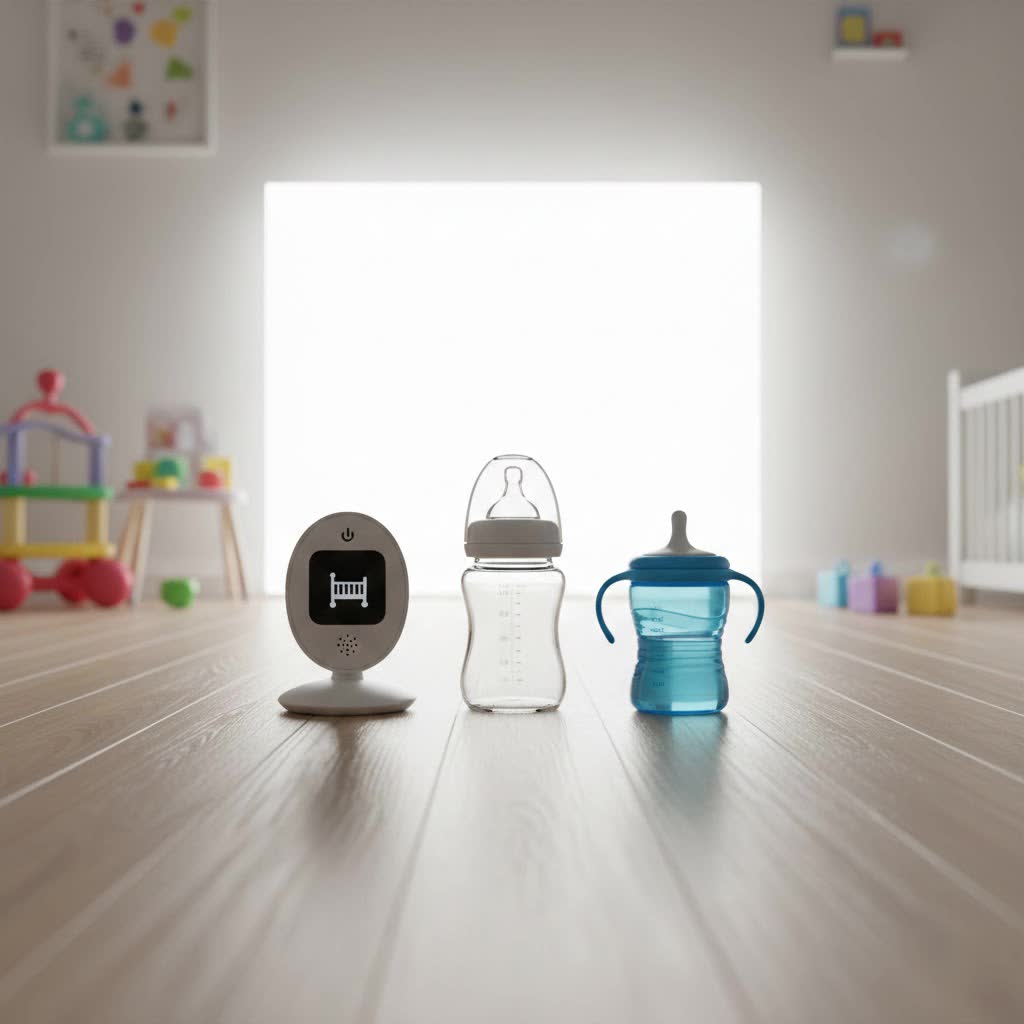
Breast milk is a miracle, providing unparalleled nutrition and immunity to infants. However, it also creates an ideal environment for bacteria to thrive if breast pump parts are not meticulously cleaned and sterilized. This guide will delve into everything you need to know about breast pump sterilizers, helping you make an informed decision for your baby’s well-being.
Why Sterilize Your Breast Pump Parts?
Protecting your baby’s delicate immune system is the primary reason to sterilize breast pump parts. Newborns, especially those under three months old, premature infants, or those with compromised immune systems, are particularly vulnerable to infections. Harmful microorganisms like E. coli, Salmonella, and Staphylococcus can rapidly multiply in milk residues left on pump components, potentially leading to gastrointestinal issues, infections, or more severe health complications for your baby.
It’s crucial to understand the distinction between cleaning and sterilizing. Cleaning involves removing visible milk residue and dirt using warm, soapy water and a dedicated brush. This step is vital and should always precede sterilization. Sterilizing, on the other hand, goes a step further by eliminating microscopic bacteria, viruses, and other pathogens that cleaning alone cannot remove. This two-step process ensures the highest level of hygiene for your baby’s feeding equipment.
“Breast pumps come into direct contact with breast milk, which is a nutrient-rich substance that can easily harbor harmful bacteria if not handled properly. Sterilization eliminates bacteria, viruses, and other pathogens that could pose a risk to your baby’s delicate immune system.” – MomMed, A Comprehensive Guide for Safe Usage
Understanding Different Types of Breast Pump Sterilizers
The market offers various breast pump sterilization methods, each with its unique advantages and considerations.
Steam Sterilizers
Steam sterilizers are a popular choice due to their efficiency and ease of use. They harness high-temperature steam to kill 99.9% of germs and bacteria.
- Electric Steam Sterilizers: These countertop appliances are fully self-contained units that heat water to boiling, circulating steam around the enclosed items. Many models also include a drying function, which is a significant time-saver, preventing recontamination from air drying and allowing for sterile storage for up to 12-36 hours. They often have large capacities, fitting multiple bottles and pump parts.
- Pros: Highly effective, fast (some sterilize in minutes), often include drying, large capacity, convenient for daily use.
- Cons: Can be bulky, takes up counter space, generally more expensive than other methods.
- Microwave Steam Sterilizers & Bags: These are compact plastic units or reusable bags designed to be placed in a microwave. With a small amount of water, the microwave heats it to produce steam, sterilizing the contents. Microwave bags are particularly excellent for travel or quick, on-the-go sterilization.
- Pros: Fast, portable (especially bags), affordable, space-saving.
- Cons: Requires a microwave, no drying function (though items dry quickly due to heat), bags are ultimately disposable.
|
Our Picks for the Best Baby Bottle in 2026
We may earn a commission when you use one of our links to make a purchase.
|
||
| Num | Product | Action |
|---|---|---|
| 1 | Philips Avent Natural Glass Baby Bottles with Natural Response Nipples (Slow Flow, Flow 2), 4oz, 4-Pack, SCY910/04 |

|
| 2 | Philips Avent Natural Baby Bottles with Natural Response Nipples (Slow Flow, Flow 2), 4oz, 4-Pack, SCY900/04 |
|
| 3 | Dr. Brown's Natural Flow Anti-Colic Options+ Narrow Glass Baby Bottle 8 oz/250 mL, with Level 1 Slow Flow Nipple, 4 Pack, 0m+ |
|
| 4 | Dr. Brown's Natural Flow Anti-Colic Options+ Narrow Baby Bottle, 8 oz/250 mL, with Level 1 Slow Flow Nipples, 0m+, 4 Pack |
|
| 5 | Dr. Brown's Natural Flow Anti-Colic Options+ Narrow Baby Bottle, 4 oz/120 mL, with Level 1 Slow Flow Nipple, 0m+, 4 Pack |
|
| 6 | mushie Soft Spout Sippy Cup 10 fl oz - 6 Months+ (Dried Thyme) |
|
| 7 | Philips Avent Natural Baby Bottles with Natural Response Nipples (Medium Flow, Flow 3), 9oz, 4-Pack, SCY903/04 |
|
| 8 | Comotomo Baby Bottle Double Pack, Green, 8oz |
|
| 9 | Dr.isla PPSU Learn-to-Drink Transition Sippy Cups with Leakproof Air Vent, Gravity Straw & Handles, 2 Lids for Babies & Toddlers 6–36 Months,9oz |
|
| 10 | Philips Avent Natural Glass Baby Bottles with Natural Response Nipples (Medium Flow, Flow 3), 8oz, 4-Pack, SCY913/04 |
|
UV Sterilizers
Ultraviolet (UV) light sterilizers use UV-C light to kill germs and bacteria without the need for water, heat, or chemicals.
- Pros: Waterless and heatless (gentle on pump parts, extending their lifespan), no drying time required, quiet operation, versatile (can sterilize other household items like phones or toys), compact designs for travel.
- Cons: Can be more expensive, some may have smaller capacities, effectiveness depends on all surfaces being exposed to UV light.
Boiling Method
Boiling is the traditional and most accessible method of sterilization, requiring only a pot and water.
- Pros: Highly effective, chemical-free, inexpensive, doesn’t require specialized equipment.
- Cons: Labor-intensive, requires constant supervision, can cause wear and tear on pump parts over time due to high temperatures, inconvenient for frequent sterilization.
Chemical Sterilization
This method involves using sterilizing tablets or solutions diluted in cold water.
- Pros: Useful for travel or when heat/electricity isn’t available, relatively inexpensive.
- Cons: Requires thorough rinsing to prevent chemical residue, solution needs to be discarded frequently (e.g., every 24 hours), parts must be submerged for at least 30 minutes.
How to Choose the Right Breast Pump Sterilizer
Selecting the best breast pump sterilizer involves considering your lifestyle, budget, and specific needs.
- Baby’s Age and Health Needs: For newborns, premature infants, or those with weakened immune systems, daily sterilization is strongly recommended by the CDC and AAP. For older babies (over three months), once a day or as needed after thorough cleaning may suffice.
- Convenience and Lifestyle: Busy parents might prioritize speed and ease. An electric steam sterilizer with a drying function can be a game-changer for a nightly routine, sterilizing and drying items in as little as 10 minutes. For parents who travel frequently or pump at work, microwave steam bags or a compact UV sterilizer offer excellent portability.
- Budget: Prices vary significantly. Microwave sterilizers and boiling are the most budget-friendly options, while high-capacity electric steam sterilizers or advanced UV sterilizers represent a larger investment. Consider long-term value, especially if you plan to use it for multiple children.
- Capacity: How many bottles and pump parts do you need to sterilize daily? Some sterilizers can hold one bottle, while others accommodate up to 13 bottles plus accessories. A large capacity reduces the number of cycles you need to run.
- Material Compatibility: Always check your breast pump manufacturer’s guidelines to ensure parts are compatible with your chosen sterilization method. Some delicate parts may not withstand continuous boiling or high heat.
- Drying Functionality: A built-in drying function is a significant advantage, as it eliminates the need for air drying on a rack, which can potentially expose items to airborne germs. Dr. Tomomi Hayashi, a pediatrician at Stanford Medical Children’s Health, emphasizes that “it’s important that your bottles dry completely. If left wet, the liquid inside can breed bacteria”.
Table: Comparison of Breast Pump Sterilization Methods
| Method | Pros | Cons | Best For |
|---|---|---|---|
| Electric Steam | Highly effective, fast, often includes drying, large capacity. | Bulky, takes counter space, generally higher cost. | Busy parents, daily sterilization, those who want an all-in-one solution. |
| Microwave Steam | Fast, portable (bags), affordable, space-saving. | Requires a microwave, no drying function (typically). | Travel, quick sterilization, budget-conscious parents, those with limited counter space. |
| UV Sterilizers | Waterless, heatless, no drying time, gentle on parts. | Can be more expensive, potential for uneven sterilization if items aren’t properly arranged. | On-the-go, delicate items, parents preferring a non-heat method. |
| Boiling | Highly effective, chemical-free, inexpensive. | Labor-intensive, time-consuming, can damage parts over time. | Occasional sterilization, budget-conscious parents, backup method. |
| Chemical Sterilization | Useful for travel or no heat access, affordable. | Requires thorough rinsing, solution disposal, longer cycle. | Emergency sterilization, camping, areas without reliable power/water. |
How to Effectively Sterilize Your Breast Pump Parts
Regardless of the method you choose, a consistent process ensures optimal hygiene:
- Disassemble Everything: Break down all breast pump parts that come into contact with milk, including bottles, valves, membranes, flanges, and tubing (if washable).
- Thorough Cleaning: Wash each component immediately after use with warm, soapy water. Use a dedicated brush to scrub away all milk residue, especially in crevices. Rinse thoroughly under running water to remove all soap.
- Sterilization: Follow the instructions specific to your chosen sterilizer or method.
- For boiling: Submerge all parts in a large pot of water, bring to a rolling boil for at least five minutes.
- For steam sterilizers: Add the recommended amount of water and arrange parts according to the manufacturer’s guide.
- For UV sterilizers: Place clean, dry items in the unit, ensuring UV light can reach all surfaces.
- Drying and Storage: Allow sterilized parts to air dry completely on a clean, unused paper towel or a dedicated drying rack. Avoid using cloth towels, which can reintroduce germs. Store completely dry parts in a clean, enclosed container to prevent recontamination. Some sterilizers offer sanitized storage for extended periods.
Top Recommended Breast Pump Sterilizers
Based on parent reviews and expert evaluations, several sterilizers consistently stand out for their performance and features:
- Baby Brezza SUPERFAST Sterilizer Dryer: Crowned “Best Overall” by Parents.com, this electric sterilizer offers large capacity, super-fast drying (as quick as 10 minutes), and a high-quality design. It can sterilize up to six bottles and various pump parts.
- Munchkin Steam Microwave Bottle Sterilizer: An excellent “Best Budget” option, this microwave sterilizer is affordable, compact, dishwasher-safe, and effective at sterilizing bottles and pump parts in minutes. It’s a great value for under $20.
- Medela Quick Clean Micro-Steam Bags: Ideal for “Best for Travel” and on-the-go use, these reusable microwave bags are highly praised by parents. Each bag can be used up to 20 times and provides quick, convenient sterilization without bulky equipment, making them perfect for work or travel where a microwave is accessible.
- Wabi Baby Electric Steam Sterilizer and Dryer: Noted for its powerful drying options and compact yet high-capacity design, this electric sterilizer can keep items sterile for up to 12 hours. It’s a solid choice for those with limited kitchen space who still want effective drying.
- Vital Baby Nurture Advanced Pro UV Sterilizer and Dryer: A strong contender in the UV category, known for being chemical-free, easy to use, and offering rapid sterilization (as little as 5 minutes) without water or heat. It’s celebrated for its longevity beyond the baby stage.
Where to Buy Breast Pump Sterilizers
Breast pump sterilizers are widely available, making it easy to find one that fits your needs:
- Large Baby Retailers: Stores like BuyBuy Baby, Babies “R” Us (or local equivalents) offer a broad selection of brands and models, often with knowledgeable staff.
- General Merchandise Stores: Major retailers such as Target, Walmart, and Amazon carry popular sterilizer brands, providing convenience and competitive pricing.
- Online Marketplaces: Websites like Amazon, Babylist, and the official brand websites (e.g., Baby Brezza, Medela, Momcozy) offer extensive choices, detailed product information, and customer reviews.
Conclusion
Ensuring your breast pump parts are meticulously sterilized is an act of love and protection for your baby’s health. While methods vary from traditional boiling to modern UV light, the goal remains the same: to eliminate harmful bacteria and provide a safe feeding experience. By understanding the different types of sterilizers, considering your personal needs, and adhering to proper cleaning and sterilization practices, you can confidently choose the best breast pump sterilizer to support your parenting journey.
What sterilization method has worked best for you and your family, and why?
Frequently Asked Questions
How often should I sterilize my breast pump parts?
The CDC and AAP recommend sterilizing breast pump parts, bottles, and other feeding items at least once daily for babies under three months old, or if your baby was born prematurely or is ill. For older babies, thorough cleaning after each use, with sterilization once a day or as needed, may be sufficient.
Is a breast pump sterilizer truly necessary, or can I just boil parts?
While boiling is an effective sterilization method, a dedicated breast pump sterilizer offers significant convenience and efficiency, especially for busy parents. Sterilizers often integrate drying functions and can keep items sterile for longer periods, streamlining your daily routine.
Can I put breast pump tubing in a sterilizer?
Generally, breast pump tubing should not be sterilized unless explicitly stated by the manufacturer. Tubing rarely comes into contact with breast milk if the pump is functioning correctly, and moisture from sterilization can lead to mold growth. Instead, inspect tubing regularly and replace it if you see milk or mold.
How long do breast pump parts stay sterile after being sterilized?
This depends on the sterilizer. Many electric steam sterilizers that also dry can keep items sterile for 12 to 36 hours if the lid remains unopened. Microwave steam bags usually require immediate use or air drying after sterilization. Always refer to your specific product’s instructions for storage guidelines.